Steps to Success: Before the Event
STEP 1
Designate a Copying Station Captain.
The Collection Coordinator will designate a member of the Project Team to serve as the Copying Station Captain. The Copying Station Captain will oversee all activities related to the Copying Station: from pre-event preparation and volunteer training, to equipment inventorying and set-up, to day-of-event activities, including overseeing the copying process and ensuring that paperwork is completed fully and stored safely. Due to the responsibilities of this position, the RoPA Developers recommend that the Copying Station Captain be a staff member of the collecting institution who can regulate the quality of Item copies and ensure accuracy.
STEP 2
Confirm the availability of equipment and supplies.
The Event Coordinator will work with the Collections Coordinator to acquire the required scanners and laptops for each of the tables at the Copying Station. You do not need to go out and buy the newest, most expensive equipment. Most scanners that have adjustable settings should be sufficient for creating high-quality digital images. If your Project Team decided to show contributed Items in real time at the event on the walls, then the Event Coordinator will also need to procure a projector and cables for each table.
- RoPA recommendations and guidelines for scanning equipment and software are available to download as an MS Excel file. (Note: The RoPA Developers recommend each Copying Station table use the same style and brand of scanner for ease of training.)
- Standards for image quality are provided as part of the Copying workflows in Steps 4 and 5 below.
At a minimum you will need one laptop and one scanner per Copying Station table. Most events will have at least three tables. A full list of equipment and supplies needed for the Copying Station is provided in the Coordinating Logistics module.
Once the equipment and supplies are secured, the Event Coordinator will deliver them to the Copying Station Captain.
STEP 3
Prepare the laptops for the event.
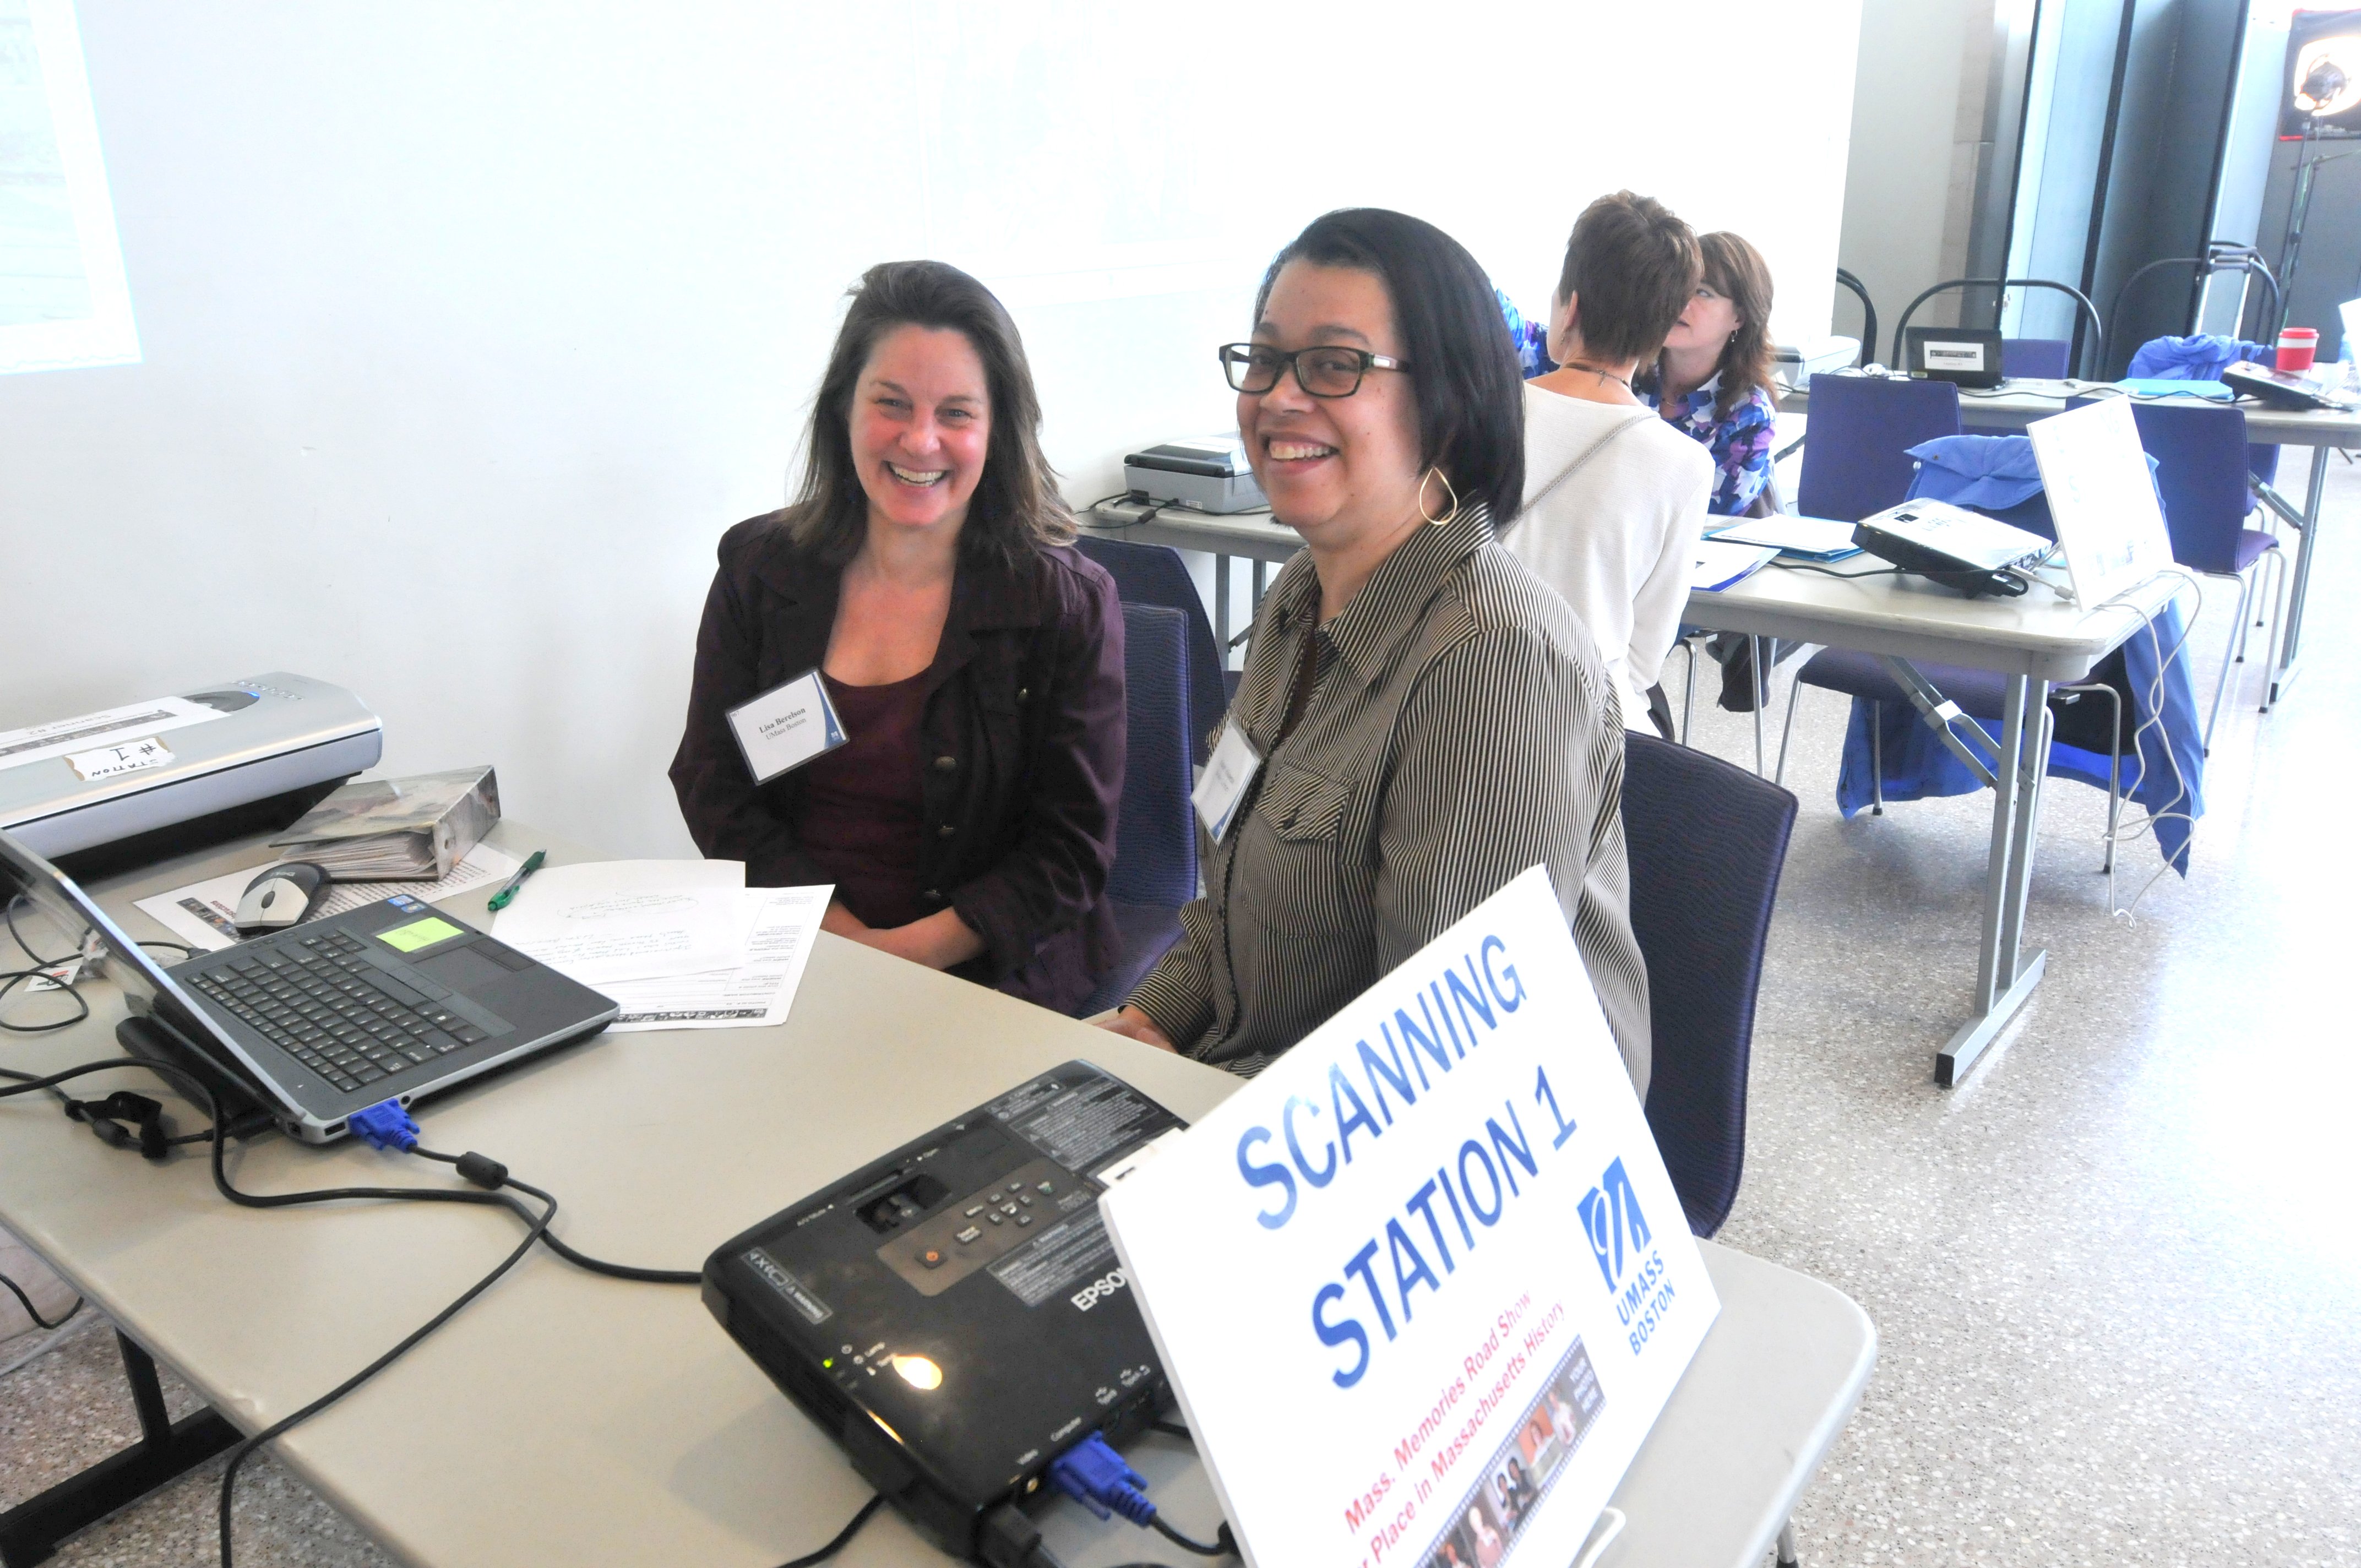
Volunteers at the Scanning Station (also known as the Copying Station) at the UMass Boston Mass. Memories Road Show, 2014
The Copying Station Captain will prepare the laptops by downloading all necessary software and creating a folder structure for saving Items.
For ease of understanding, the RoPA Developers chose to provide directions and workflows modeling Epson scanners (specifically Epson Perfection V600 scanners) and Irfanview scanning and image processing software for this module. Remember, your Project Team can use any scanner or scanning software or image processing software or image processing software at your event, as long as you’re able to capture high-quality scans of physical items. There is no need to purchase the exact equipment discussed in this module. Review the RoPA Equipment and Software Inventory for recommendations and guideance (download as MS Exel file).
Download and install the scanning software and Irfanview processing software.
The Copying Station Captain is responsible for preparing each Copying Station laptop with the appropriate scanning software. You will need to install your scanner’s software and the Irfanview processing software on each laptop or computer that you will be using at your event. The RoPA Developers recommend using the free Irfanview scanning and image processing software because it can be used with a variety of different scanners.
To install the scanner software, you will need to be connected to the internet. When you plug your scanner into your laptop you should see an automatic prompt for downloading the scanning software for your scanner. If you don’t see this prompt, go to the website for the company that made the scanner and search for the appropriate scanning software for your equipment.
To install the Irfanview processing software, download the program here.
Download and install the TeraCopy tool for copying Items.
TeraCopy is a free tool that allows you to copy digital files while retaining the original creation dates. The tool also uses cyclic redundancy check (CRC) checksums, which really just means that TeraCopy confirms that no errors occurred during the file copying process.
- There are versions of TeraCopy for both Microsoft Windows and Mac.
- Download TeraCopy for free here: codesector.com/teracopy
- After installing TeraCopy, open the software and go to the Preferences section to change the settings for the tool. Depending on you version of TeraCopy, you can access the Preferences section by clicking on the circle/gear wheel in the copy bar of the application screen.
- Make sure your settings look similar to those in this image, which will help make your use of TeraCopy align with the workflows in later sections of this module. These settings are from version 3.8.5 of TeraCopy.
Create a folder on each laptop for storing Contributors Items.
The Copying Station Captain will create a folder on the Desktop or in the Documents folder on each laptop workstation at the Copying Station for storing digital files collected at your event. Use the name of your event as the folder title to make it clear where the Item Copier should save and store the digital files.
STEP 4
Confirm workflows for Copying Station.
At the Copying Station, Item Copiers are responsible for scanning, digitizing, and/or copying photographs and other Items being contributed to the collection. They will also assign file names for each Item to match the Item ID Number on the Descriptive Information Form.
Items may be contributed physically, such as original prints of photographs, or digitally, such as born-digital photographs or other digital images on devices such as a smartphone or thumb drive. Workflows provide step-by-step instructions for Item Copiers on how to create digital copies of these items. It’s important to settle on your event’s digitization and copying workflows before the Event Orientation and Training Session. By having these workflows finalized early in the planning process, Item Copiers will have sufficient time to review the workflows, practice copying items, and ask questions before the day of the event.
The workflows provided in this module use Epson Perfection V600 scanners and Irfanview scanning software, though you do not need to use these exact scanners to be successful at your event. The workflows themselves can be easily adapted should you have a different scanner or other digitization equipment.
Create an Event Email Address for digital contributions.
The Digital Preservation Specialist will create or designate an Event Email Address to be used by Contributors who have Items they’re donating that are on their smartphone or smart device. This email address will need to be added to the Workflow for Emailing Items below.
Review and customize the RoPA digitization and copying workflows.
The Collection Coordinator will need to review the following RoPA workflows for digitizing and copying items at your event. Since Contributors will bring Items in a variety of formats, your Project Team needs multiple workflows to process different formats. These workflows can be updated or amended to meet the needs of your event.
Workflow for Scanning Items (IrfanView/EPSON Perfection V600)
- Instructions for copying tangible items such as photographs or documents.
- Download as MS Word or PDF document.
Workflow for Transferring Items
- Instructions for copying items stored on an external device such as a thumb drive or external hard drive.
- Download as MS Word or PDF document.
Workflow for Emailing Items
- Instructions for copying items that Contributors submit to the Event Email Address for digital contributions.
- Download as MS Word or PDF document.
- Please note: The Event Email Address that the Digital Preservation Specialist created will need to be added to this workflow before it can be shared with Copying Station Volunteers or other members of the Project Team.
Note: Under no circumstances should you rotate, crop, or otherwise edit an image or Item file after it's been saved. All image editing and processing will be carried out by the Digital Preservation Specialist.
STEP 5
Train the Copying Station Volunteers at the Event Orientation and Training Session.
The Event Orientation and Training Session is an opportunity for the entire Project Team to come together before the event and learn about the details of what will happen on the event day. During the Event Orientation, volunteers will learn about the different stations, the numbering system, and all the forms Contributors will complete. After a short break, the Project Team will divide into groups for station-specific training.
At the Copying Station Training Session, the Copying Station Captain will:
- Make sure volunteers understand their role in ensuring Item ID Number and digital file name accuracy;
- Train volunteers on both the Item Copier and Reviewer roles and the teamwork needed to successfully run a Copying Station Table;
- Help volunteers determine when Items are ready to be copied;
- Review the Descriptive Information Form in detail with Volunteers (download as MS Word or PDF document), provide them with a copy of the Understanding the Descriptive Information Form handout (download as MS Word or PDF document), and practice reviewing a form;
- Review the Workflows for Scanning Items, Transferring Items, and Emailing Items and practice copying different types of Items;
- Teach volunteers how to properly store completed Descriptive Information Forms.
- Teach volunteers how to properly organize and secure digital files.
Reviewer role
When a Contributor arrives at the Copying Station, they will bring a folder with two types of things: their Items to be copied and a completed Descriptive Information Form about each Item. An Item can be copied at the Copying Station only after an Information Station Volunteer has reviewed the Contributor’s Descriptive Information Form for legibility and completeness. This review process should have happened at the Information Station, before the Item and its corresponding Descriptive Information Form are taken to the Copying Station.
After greeting the Contributor, the first thing that a Reviewer will do is to double-check the completeness and legibility of the form. Next, they will verify the “For Project Team Use Only” section of each Descriptive Information Form was completed by the Information Station. You can tell this section is complete because an Information Station Volunteer will have entered their initials next to “Form reviewed for completeness and legibility.” The Information Station area of this section of the form must be completed before a Contributor’s Items can be copied. See example noting, in red, a completed "For Project Team Use Only" section.
If the Descriptive Information Form for any Item is not complete, the Reviewer will need to ask the Contributor to return to the Information Station so that the Information Station Volunteers can assist them in fully completing the form.
If each Descriptive Information Form is legible and complete for each Item, the Reviewer will hand the folder to the Item Copier. The Reviewer is then responsible for working with the Item Copier in managing the Contributors’ paperwork and confirming the digital files match the forms.
Item Copier Role
Item Copiers are responsible for scanning, digitizing, and/or copying photographs and other Items being contributed to the event. They will also assign file names for each Item. Items may be contributed physically, such as original prints of photographs, or digitally, such as born-digital photographs or other digital images on devices such as a smartphone or thumb drive. The Item Copier is also responsible for saving copied Items using the “ITEM ID Number.”
After the Reviewer finishes verifying the Descriptive Information Forms, the Item Copier will create a digital copy of the Contributor’s Items. There are a variety of ways to create a digital copy. These workflows describe the three processes for collecting and copying Items from Contributors at a participatory archiving event:
Workflow for Scanning Items (IrfanView/EPSON Perfection V600)
- Instructions for copying tangible items such as photographs or documents.
- Download as MS Word or PDF document.
Workflow for Transferring Items
- Instructions for copying items stored on an external device such as a thumb drive or external hard drive.
- Download as MS Word or PDF document.
Workflow for Emailing Items
- Instructions for copying items that Contributors submit to the Event Email Address for digital contributions,
- Download as MS Word or PDF document.
The Item Copier will save the digital copy of the Item in the appropriate folder with the Item ID Number as the file name. Contributors will have one Descriptive Information Form for each Item they plan to contribute, so there should be no duplicate Item ID Numbers.
After saving the files, the Item Copier will complete the “For Project Team Use Only” Copying Station section of the Descriptive Information Form by indicating whether they scanned, emailed, or copied the Item. The Item Copier will then return any original Items to the Contributor and place the completed Descriptive Information Form in the document envelope. Remember, your Project Team is creating a digital rather than physical collection with Contributors’ Items.
STEP 6
Send a follow-up email to Copying Station Volunteers.
After the Event Orientation and Training Session, the Copying Station Captain will share the following informational documents, videos, and workflows with all Copying Station Volunteers and ask them to carefully review the materials again before the day of the event:
- RoPA Numbering System Overview (download as MS Word or PDF document);
- Understanding the Descriptive Information Form handout (download as MS Word or PDF document);
- A link to the Understanding the Descriptive Information Form video;
- Workflow for Scanning Items (download as MS Word or PDF document);
- Workflow for Transferring Items (download as MS Word or PDF document); and
- Workflow for Emailing Items (download as MS Word or PDF document).